contact us

Whether you are a homeowner, an industry professional, fellow blogger or just curious to know more about the place home, we are excited to hear from you. 

Email us directly at theplacehome@gmail.com, connect with us through social media or submit the form!


123 Street Avenue, City Town, 99999

(123) 555-6789

email@address.com


You can set your address, phone number, email and site description in the settings tab.
Link to read me page with more information.

THE-PLACE-HOME-blog-banner-final.jpgasdfsdf

blog


Filtering by Category: the functional home

structural work in our project room

Emily Oster

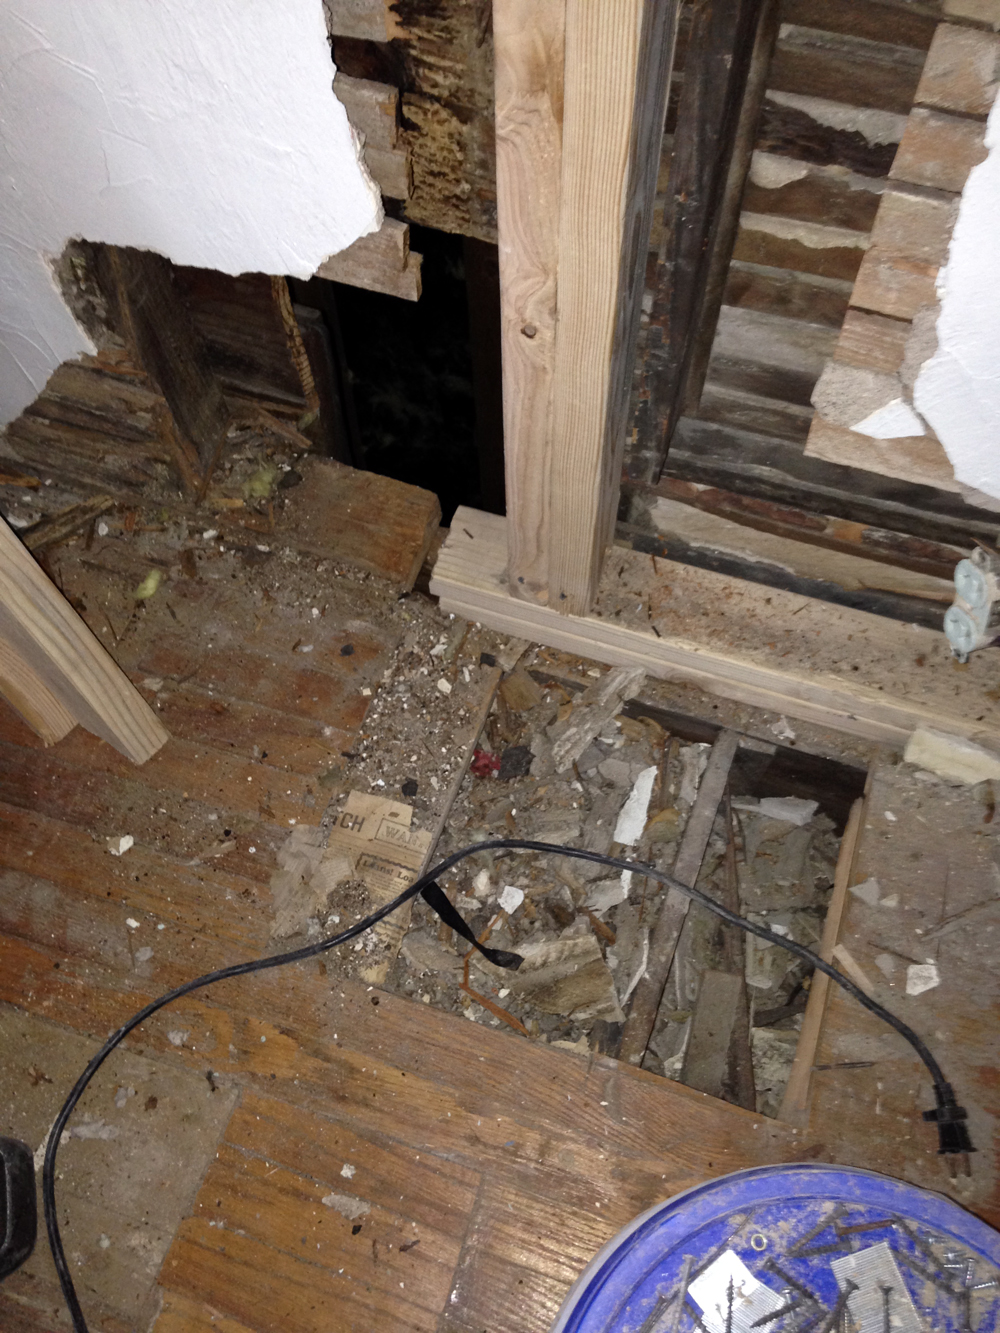
This week has been a progress week on the house. Not every week can be full of action as the amount of planning that can go into even the smallest decisions can be extensive. Also we are trying to be careful with how much we undertake at one given time as to a.) not go crazy and b.) end up in the poor house. This week has been a big reinforcement of this lesson as our "project" room also known as the "stinky" room currently looks like this...

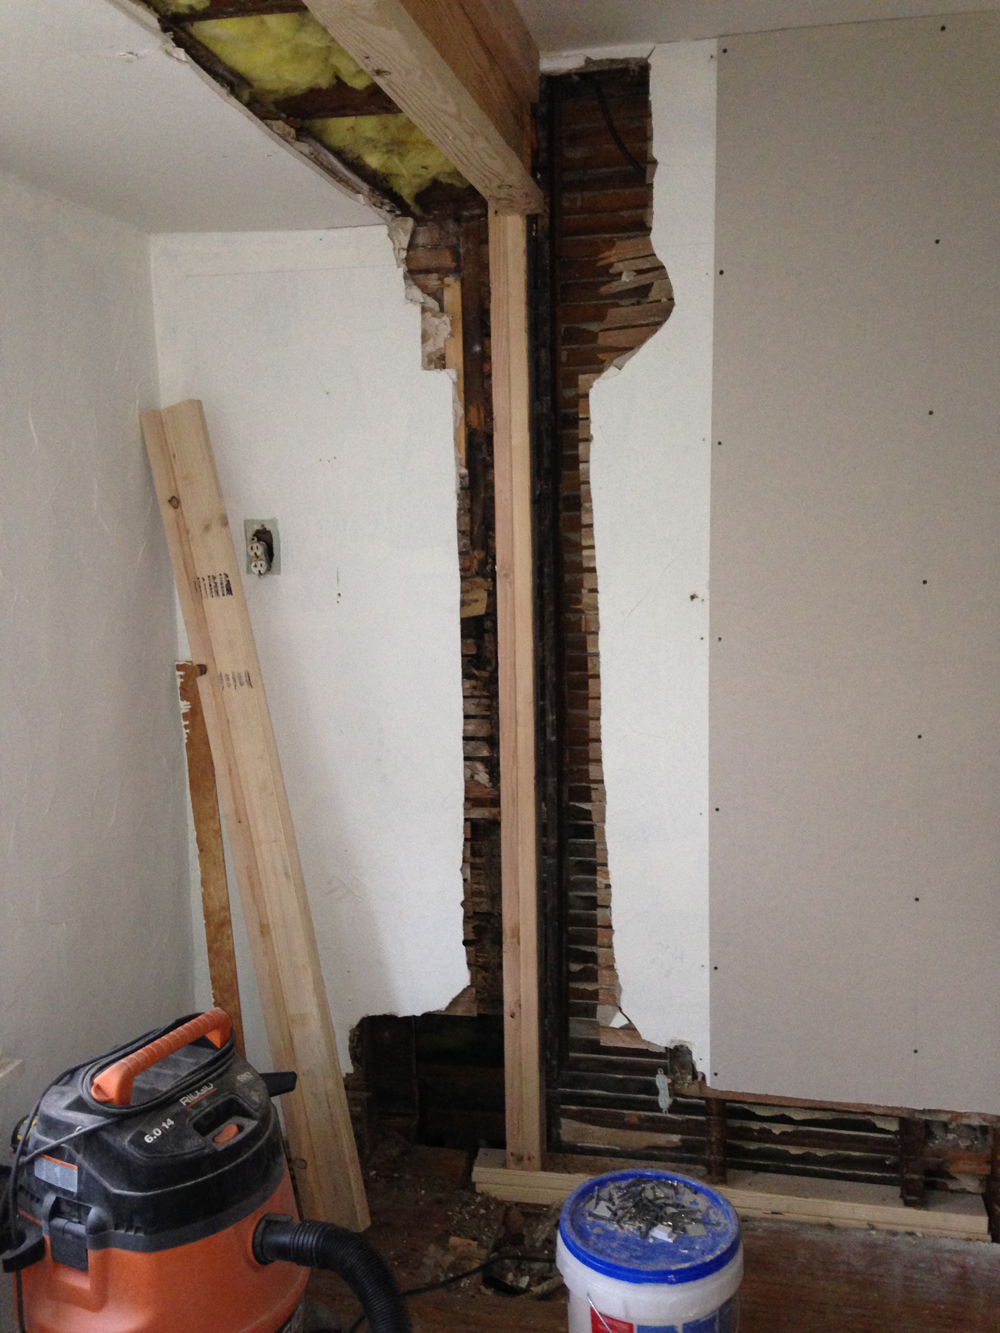
This is actually a big improvement from Tuesday in which the same area looked like this...

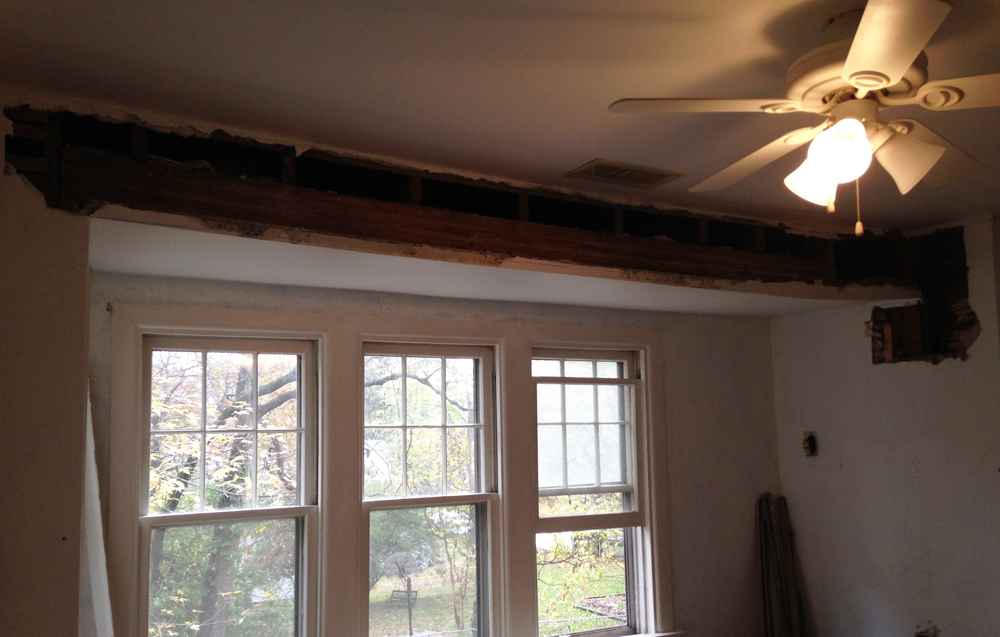
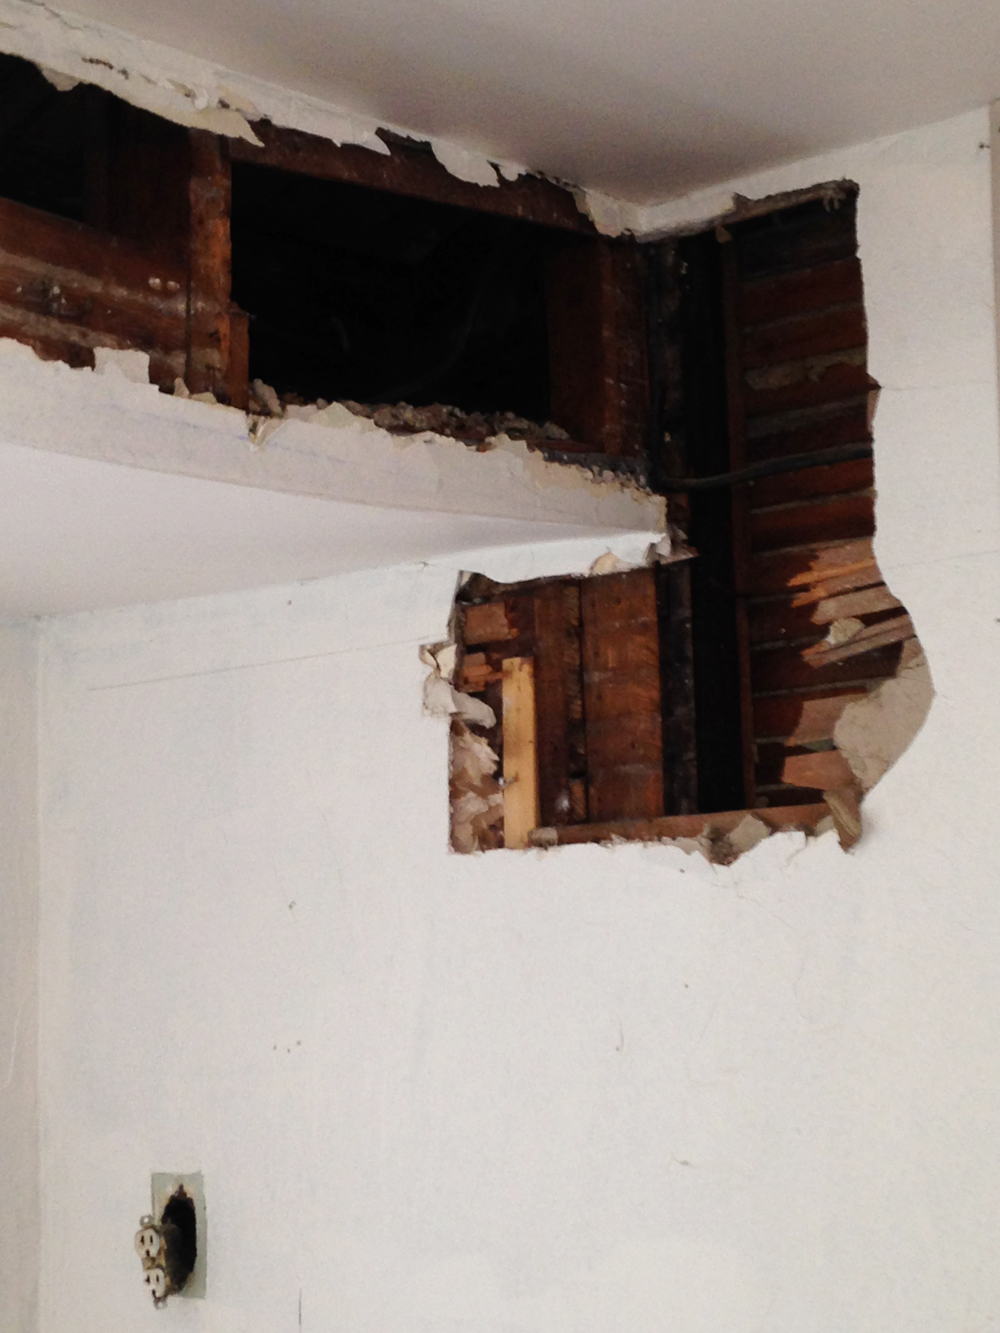
If your having trouble seeing the problem the header is sagging almost three inches and is not continuous to its bearing point. To back up, our original scope of work at the beginning of the week was to have the existing venetian plaster overhung with drywall. The plaster was in bad shape and would have been pretty difficult to repair plus I am not a fan of the look. So we hired (luckily) two skilled carpenters to hang new material. Over the weekend, Jeff's parents were nice enough to prime the walls (we were nervous about any smoke smell being trapped in) and first thing Tuesday morning the carpenters started. 

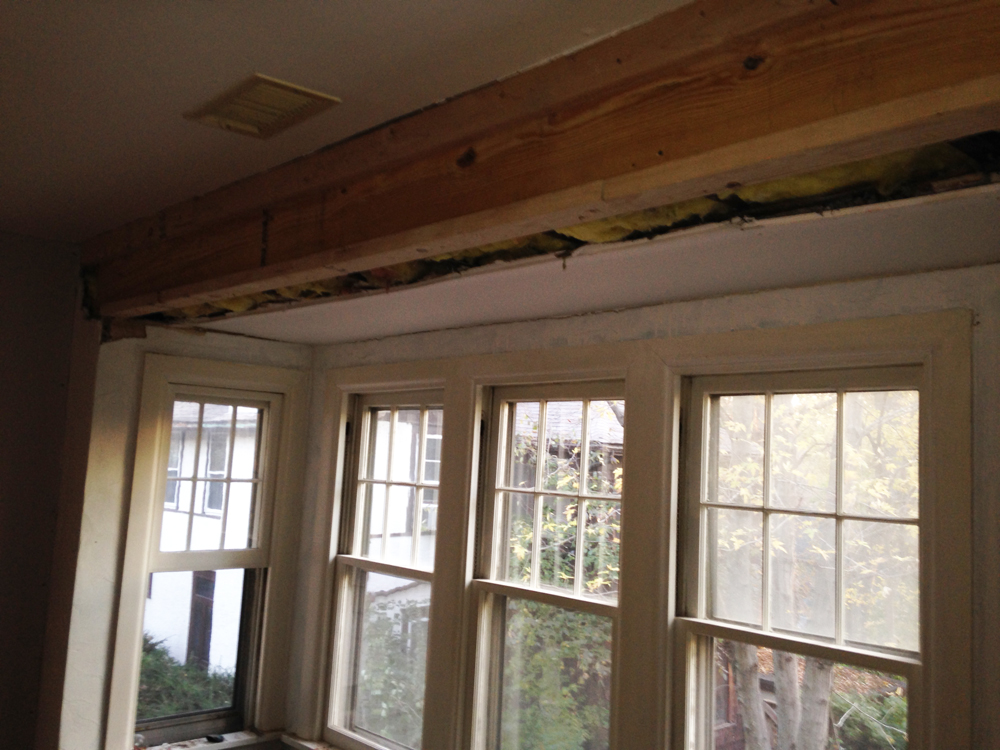
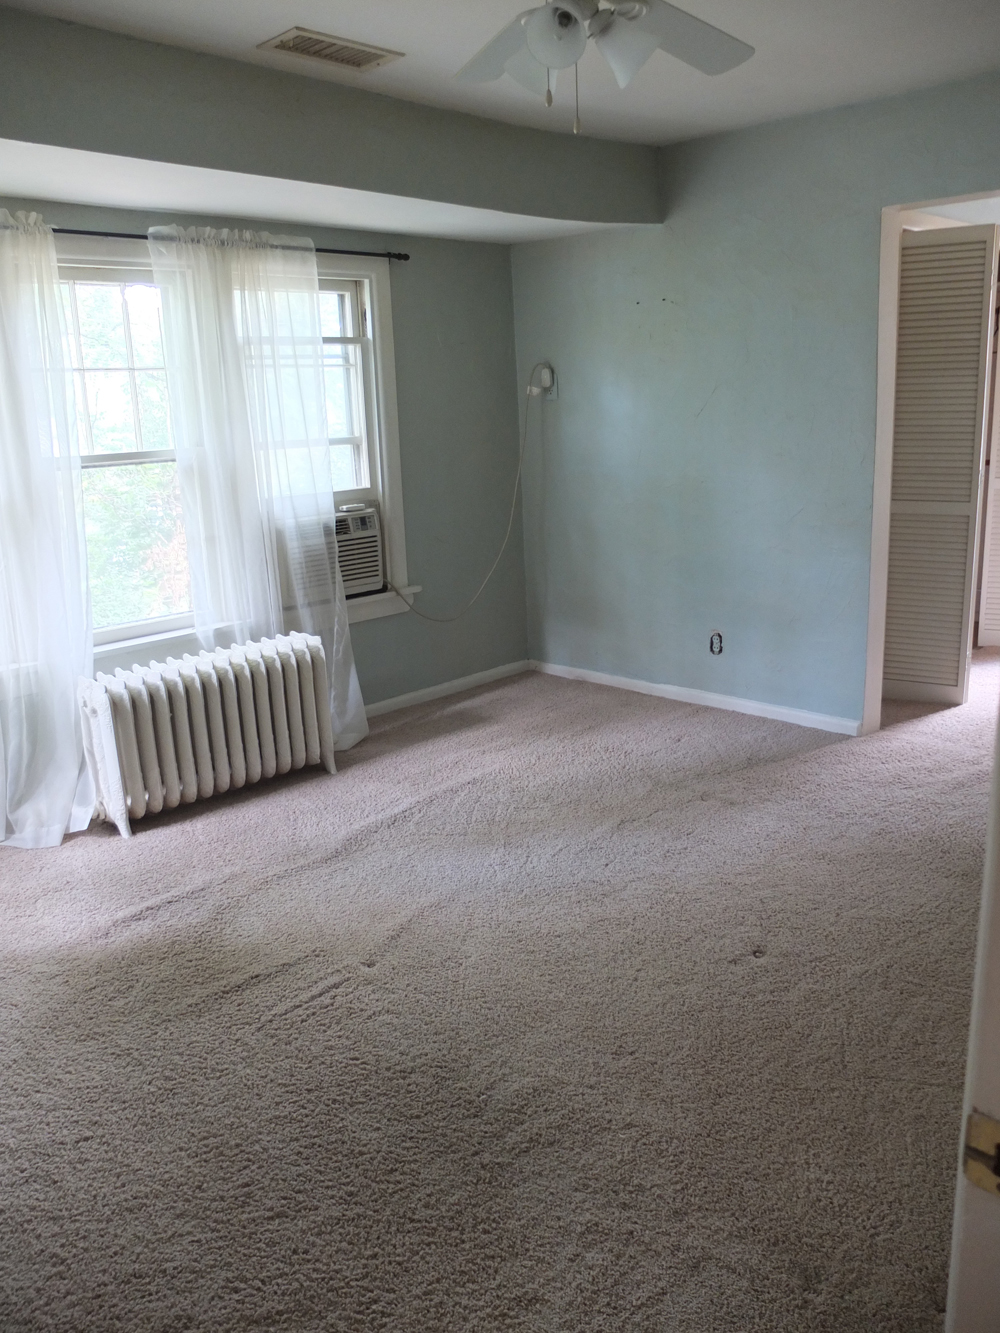
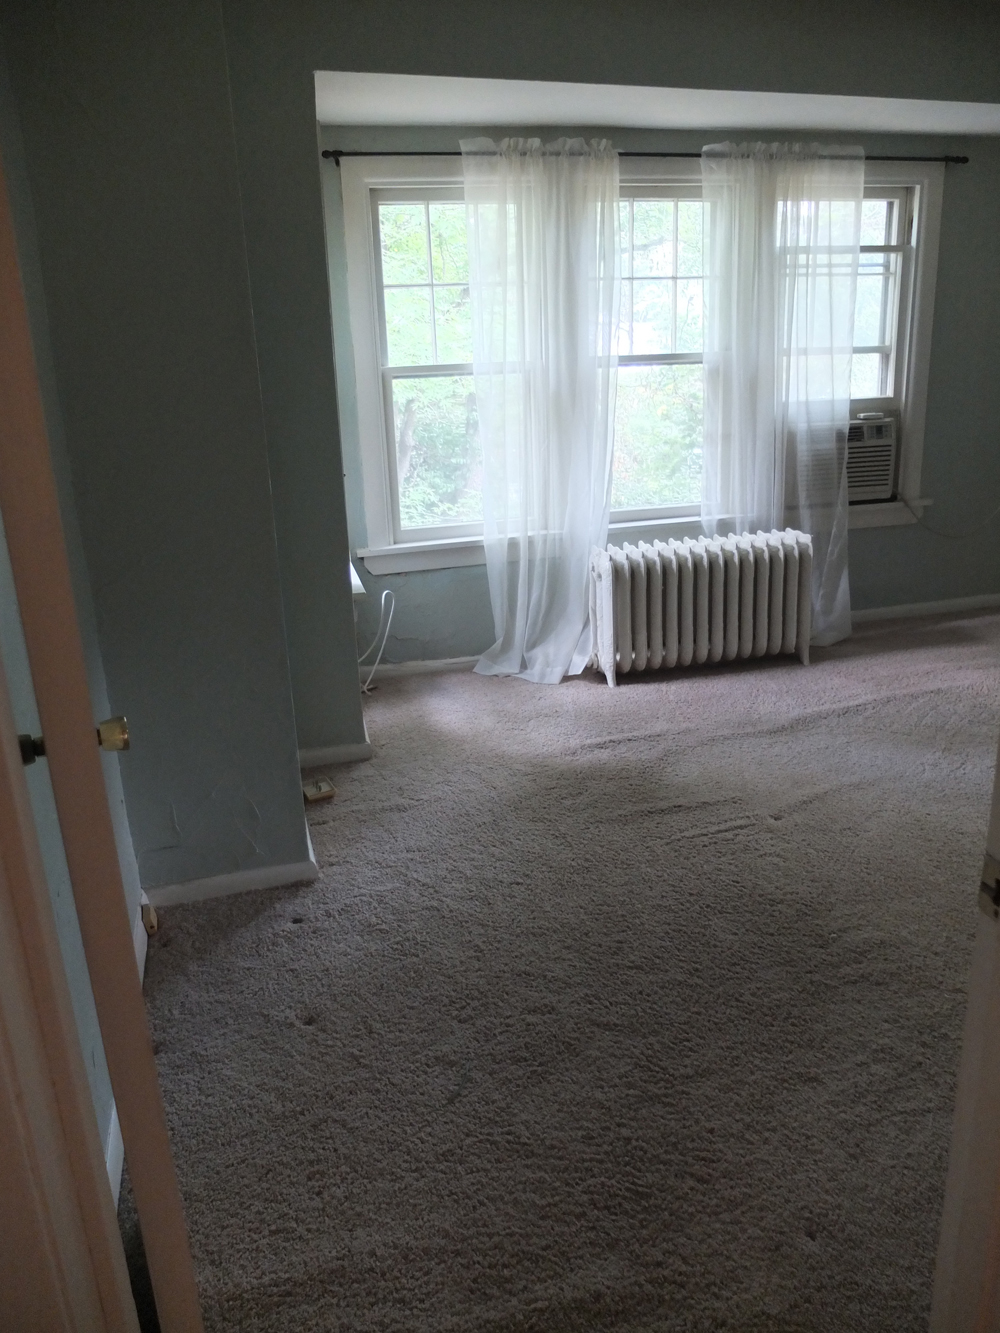
We should have anticipated a problem as the sag was apparent to even an untrained eye but we just didn't think about it. You can sort of see it from these pictures taken before we moved in.

Upon opening the wall, we discovered that the header (the horizontal piece) was not long enough and that its bearing point was rotted out due to old water and termite damage (sorry to Jeff and any other structural engineers/contractors reading this if I am not explaining it correctly). Jeff, who is a structural engineer, and our two carpenters spent yesterday morning diagnosing the situation and coming up with a solution. The plan involved shoring up the ceiling, removing the old header and replacing it with a new one that is the appropriate size and length, removing the rotted out stud and replacing it and re-insulating - oh and then drywalling. All and all it didn't end up costing us that much more time or money but we were lucky to have two very skilled carpenters and Jeff's knowledge to know how to address the situation properly. 

We are back on track today and hope to have the drywall completed by Friday or maybe Monday. More pics to come!

hallway sconces

Emily Oster

Our second floor landing doesn't have any overhead light so we are thinking about adding wall sconces. There is no direct outside light so I want something that casts a good amount of ambient light and is brass. Right now my two top contenders are the vendome and bryant lights both by Circa Lighting.

Bryant Sconce by Circa Lighting

Bryant Sconce by Circa Lighting

Vendome Sconce by Circa Lighting

Vendome Sconce by Circa Lighting

Circa does a really nice hand rubbed antique brass and I like that both sconces have a traditional yet modernized feel about them. Both sconces are the same size and take 1 - 60 watt bulb - meaning that they will cast the same amount of light.

I am not sure which way I am leaning right now but have been looking at these install photos to help me decide. 

Vendome Sconces in dining room source unknown

Vendome Sconces in dining room source unknown

Bryant sconce in home office source unknown

Bryant sconce in home office source unknown

Maybe the bryant???

planning our new mud room

Emily Oster

mud room inspiration via Style at Home

mud room inspiration via Style at Home

For the past couple of weeks, we have been gathering bids for a new mud room. Currently, our washer and dryer are in our unfinished basement which has a very narrow stair and not the proper plumbing and electrical hook ups (meaning no functioning dryer). We plan to bring the units upstairs to a room that has its own entrance off the back of the house and is connected to the kitchen. We won't be able to do the whole mini reno at once but (I think) are pretty close to starting phase 1. This includes:

- Ripping out carpet
- Opening an existing wall to run plumbing and electric for washer and dryer plus a utility sink
- Closing wall back in
- Closing in a door that leads into our dining room
- Installing washer and dryer upstairs 

Its not a huge list but will most likely involve three days of work for a plumber, one day for the electrician and two days for a carpenter. We are still getting our heads around all that needs to be done by each trade and in what order (which once I do I will share here). We are, however, becoming more and more motivated as trying to get creative about where to hang our laundry is wearing on us. 

We want this room to be super functional and think it will add a lot to how we live in the house. The main components to the room will be:

- Washer and dryer
- Utility sink - which we will use a lot during all our other house projects and countless hours of painting
Storage for coats and shoes - we don't currently have a true coat closet
- Dog area - a designated spot for Booker's kennel and accessories
- Office space - still working out the specifics of what I need for this area but basically just a desk area with a small amount of storage
- Catch all - a place for mail, keys, work and gym bags, cell phones etc. is key as I am a bit of an anti-clutter freak 

The collecting bids phase is not exactly a fun part of the process as it can be a pretty good reality check and rather time consuming. So to keep myself excited about the project I have been sketching and (obviously) searching Pinterest for inspiration spaces. We aren't doing any finishes in this phase of project (flooring, paint, cabinetry etc.) which is actually good as it limits the number of decisions that need to be made and buys me some time to figure out the look and feel of the space. I also need to take some time and draw out the space with exact dimensions so I can really understand how the space will work. I will be making this mini renovation into a series here on the blog so stay tuned for more inspiration images, drawings, lessons learned and home photos!